Each form can have its own design, questions, product and gift. You might use one general form for everyone and a second one for coaching clients that asks a different question. With PRO you can make as many forms as you like, and each one has its own shortcode and HTML embed.
Where to find it:
Click AiX Testimonials, then the Collect tab. The Your forms table lists every form. Click Edit on a form to open it in the designer below the table, or click Create new form.
The form list:
For each form you see:
- Name and ID, with DEFAULT on your main form and EDITING on the one open below
- Tag: an optional label to help you find it
- Fields: how many fields it has
- Submissions: how many it has received, split into live, pending and spam, with the time of the last one
- Shortcode: for example [autoproof_form id="2"]
- Actions: Edit, Test (opens the live preview), Clone (copies the form) and ✕ (removes the form)
Name, tag and gift:
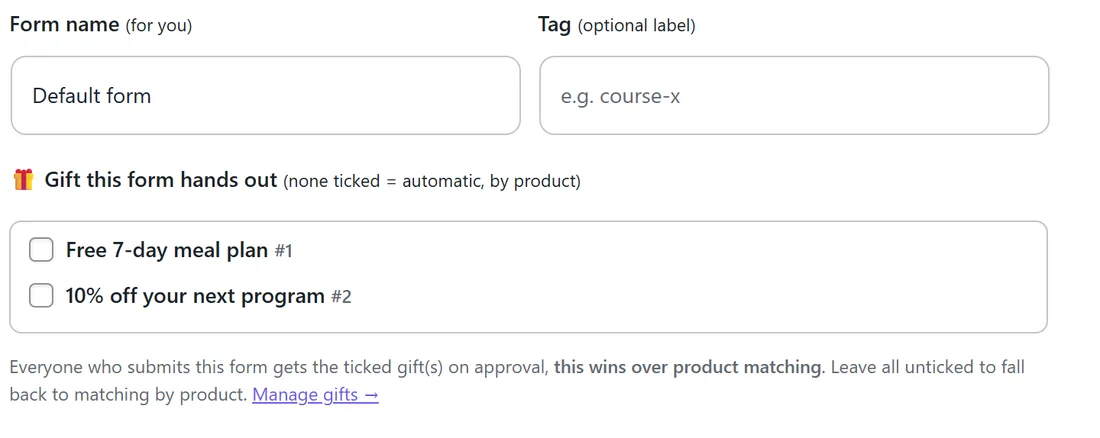
At the top of the designer:
- Form name (for you): only you see this
- Tag (optional label): a short label such as coaching
- Gift this form hands out: tick one or more of your gifts. Everyone who submits this form gets the ticked gifts on approval, and this wins over product matching. Leave all unticked and the gift is chosen by product. Manage gifts opens the Gifting tab.
Style:
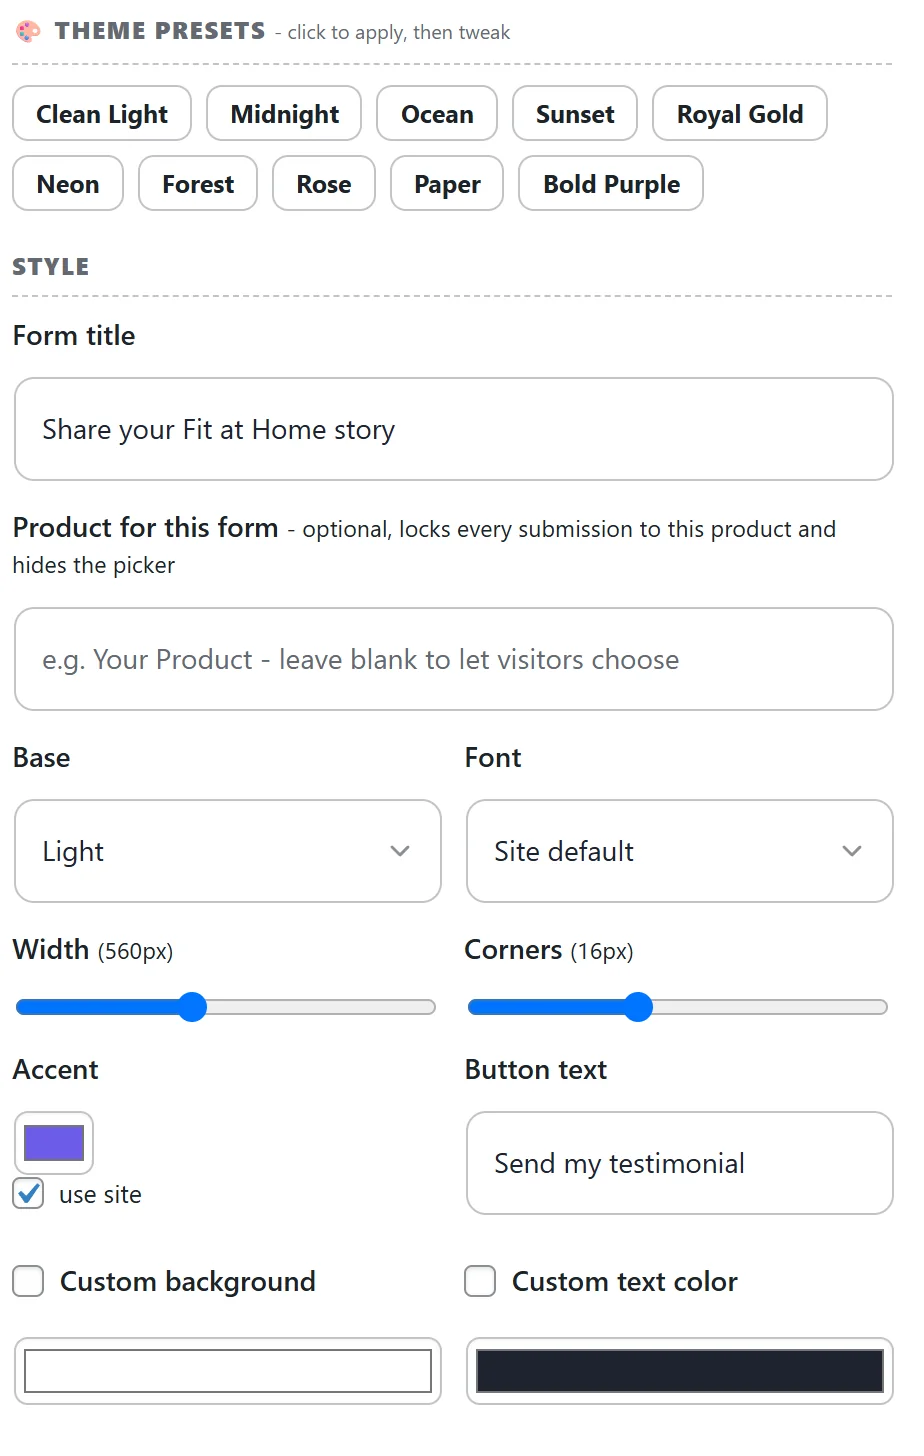
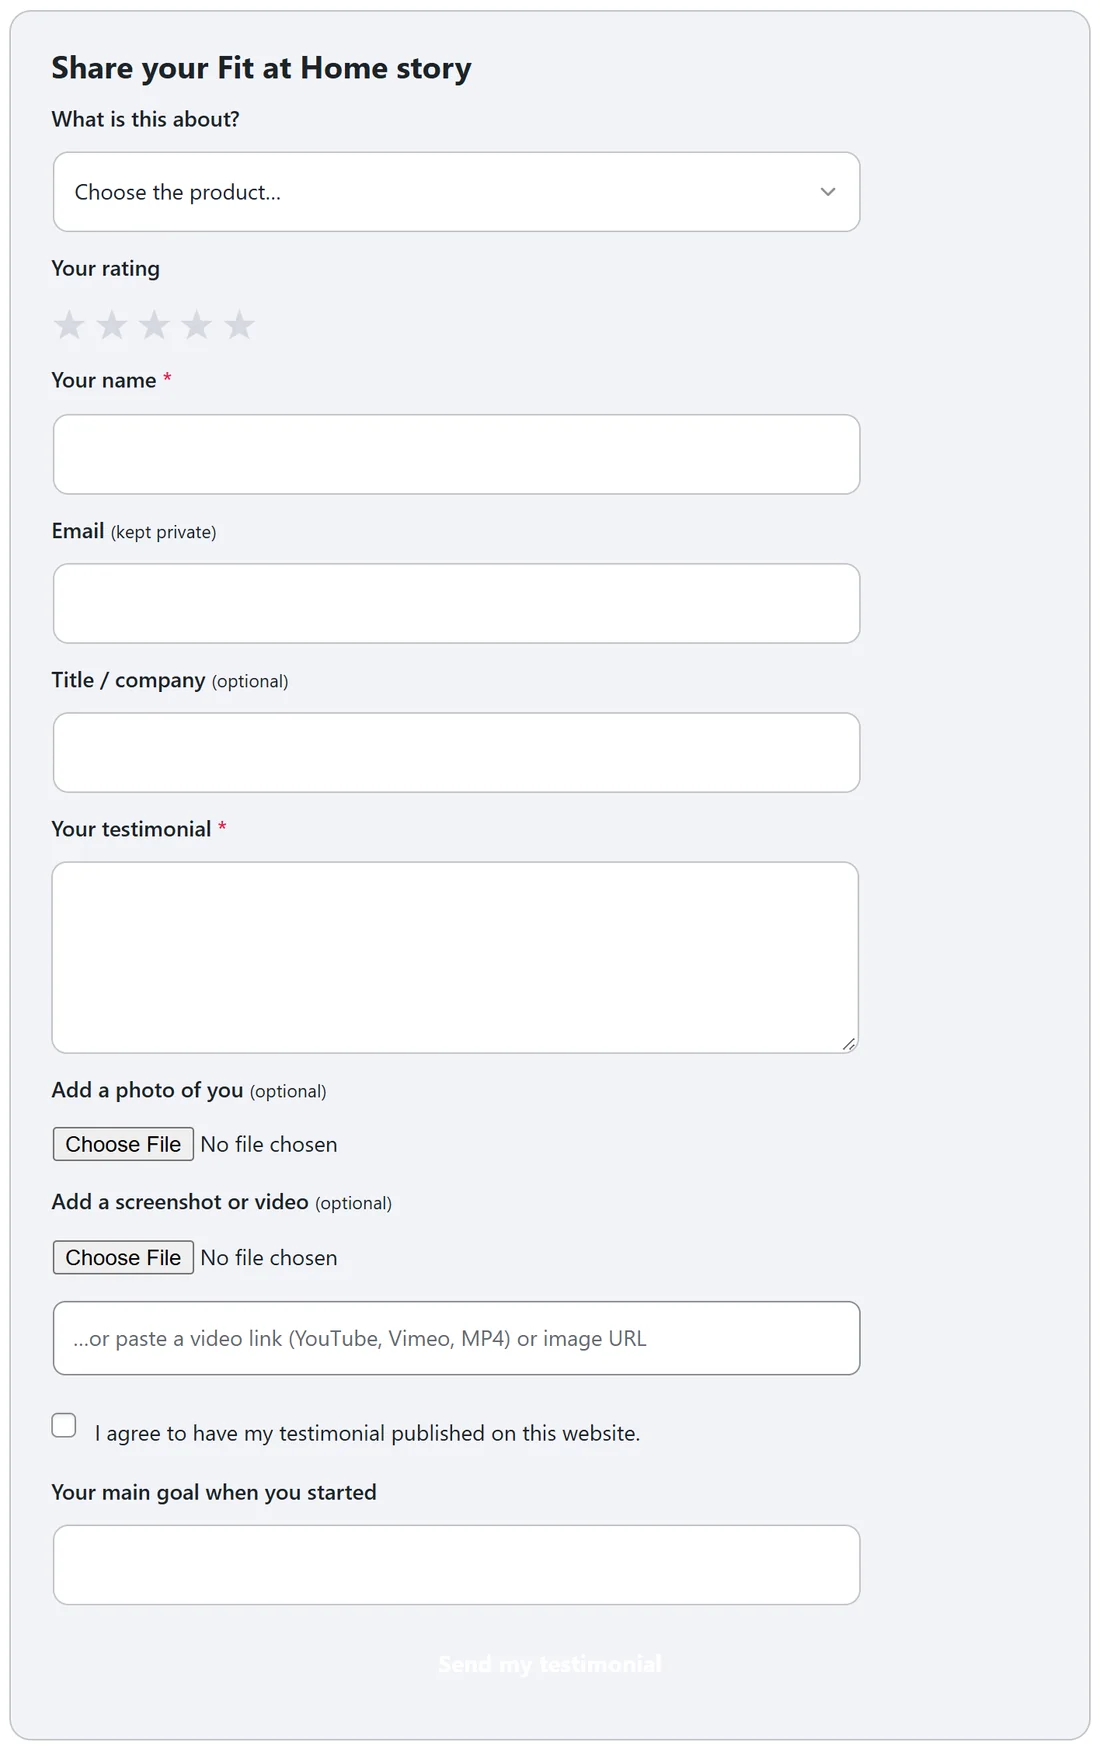
Click one of the THEME PRESETS to start (Clean Light, Midnight, Ocean, Sunset, Royal Gold, Neon, Forest, Rose, Paper or Bold Purple), then adjust:
- Form title: the heading at the top of the form, for example Share your Fit at Home story
- Product for this form: optional. Type a product name to lock every submission to that product. The product picker is then hidden.
- Base: Light or Dark
- Font: Site default, a system font, or one of the Google fonts in the list. Custom font lets you type any font name.
- Width: from narrow to wide, shown in pixels (560px by default)
- Corners: how rounded the form is (16px by default)
- Accent: the colour of the stars and button. Tick use site to use the accent colour from the Settings tab.
- Button text: for example Send my testimonial
- Custom background and Custom text color: tick to set your own colours
The Live preview on the right updates as you change things.
Fields:
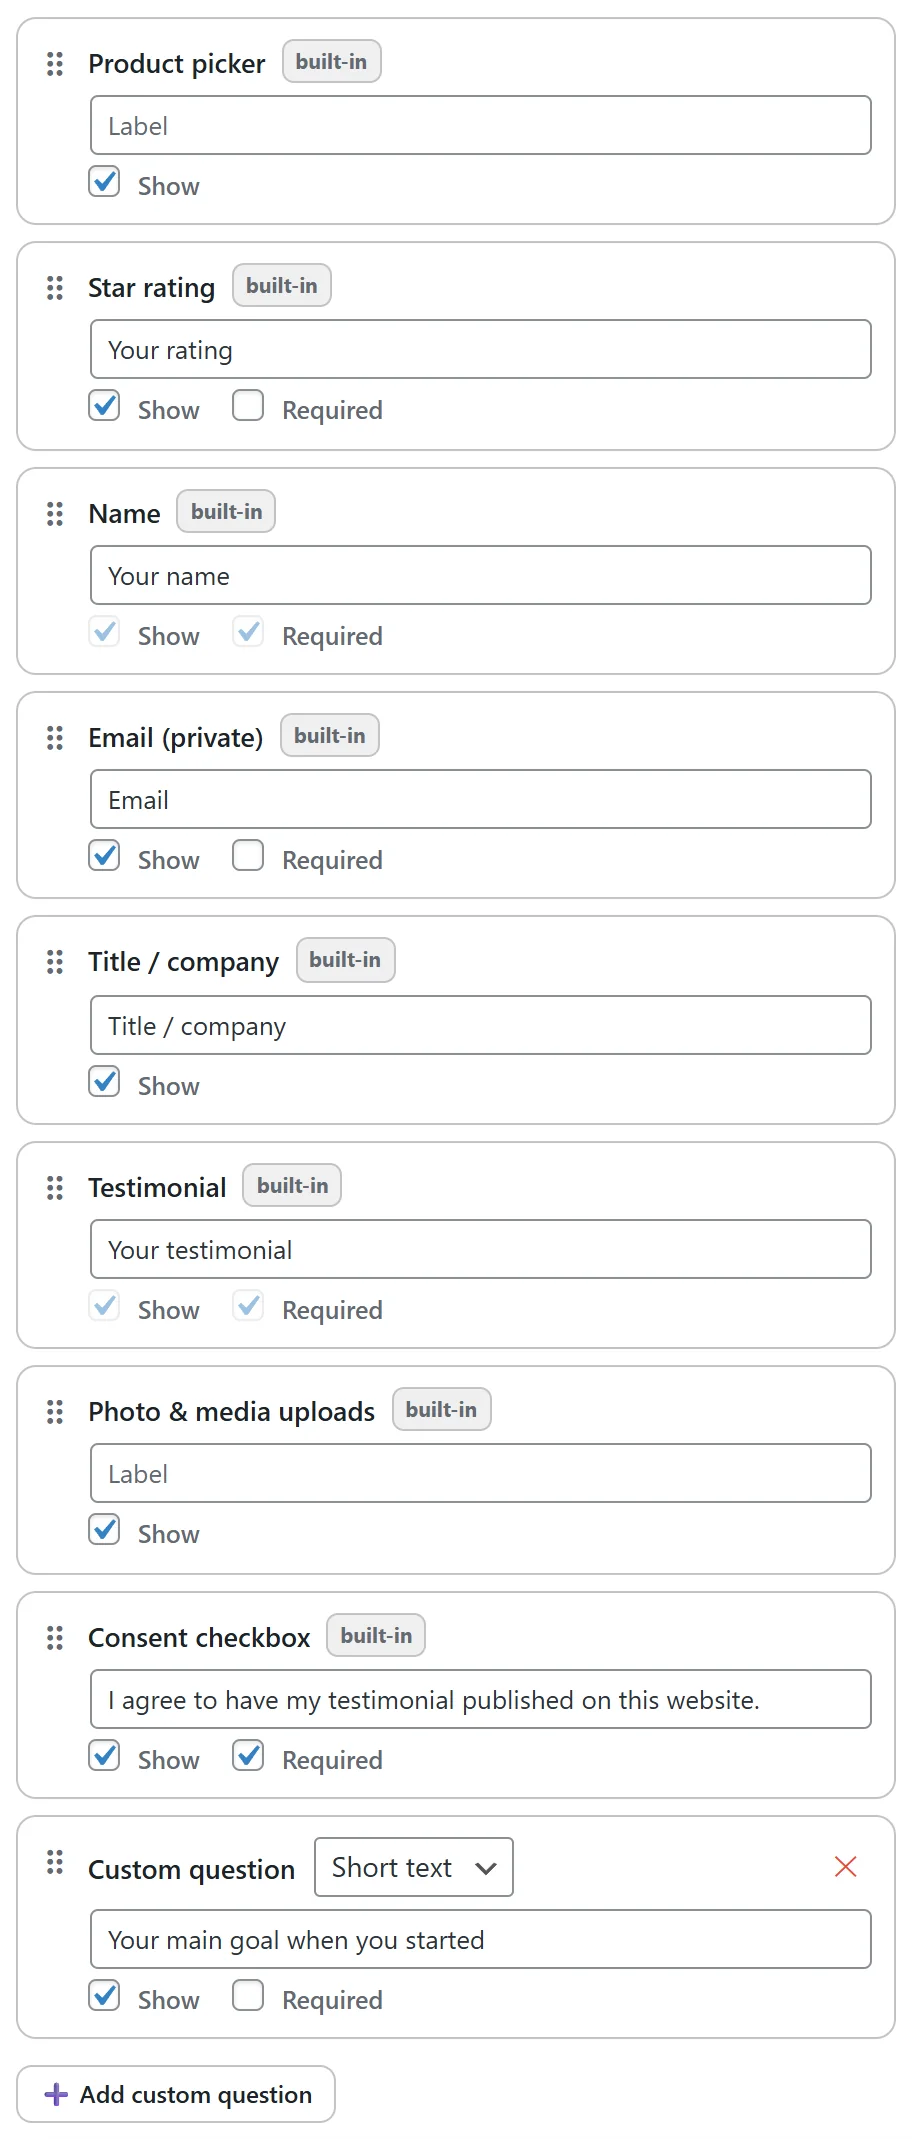
The FIELDS list shows the eight built-in fields: Product picker, Star rating, Name, Email (private), Title / company, Testimonial, Photo & media uploads and Consent checkbox. For each one you can:
- Drag the ⠿ handle to change the order.
- Change the label visitors see.
- Tick Show to include it, untick to hide it.
- Tick Required where offered.
Adding your own questions:
- Click Add custom question.
- Choose its type: Short text, Paragraph, Dropdown or Email. For Dropdown, type the options separated by commas.
- Type the question as its label, for example Your main goal when you started.
- Tick Required if every visitor must answer.
Add custom questions to your default form, the one marked DEFAULT in the table. Answers are stored with each testimonial and travel with it in a PRO export (see ResultsAiX Testimonials PRO: Upgrade Features).
Saving:
Click Save form. The bar at the bottom reads One form → its shortcode, HTML embed and live form.
Using the form:
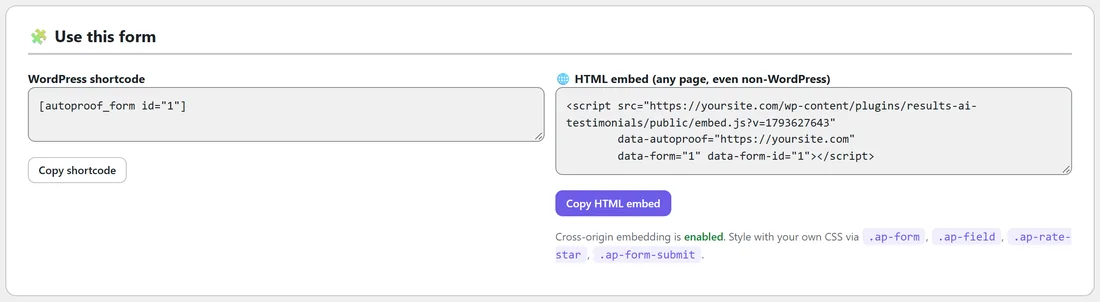
The Use this form panel gives you:
- WordPress shortcode: paste into any page or post, then click Copy shortcode
- HTML embed (any page, even non-WordPress): a script tag for pages outside WordPress. Click Copy HTML embed. The note under it tells you if cross-origin embedding is enabled on the Settings tab. You can style the embedded form with your own CSS using .ap-form, .ap-field, .ap-rate-star and .ap-form-submit.
Shortcode options:
[autoproof_form] accepts these options:
- id: which form, for example id="2"
- product: a product name to lock the form to it, choose to show the picker, or none to hide the picker
- title: a different heading for this one placement
- uploads="0": hides the photo and media uploads
- rating="0": hides the star rating
A real example:
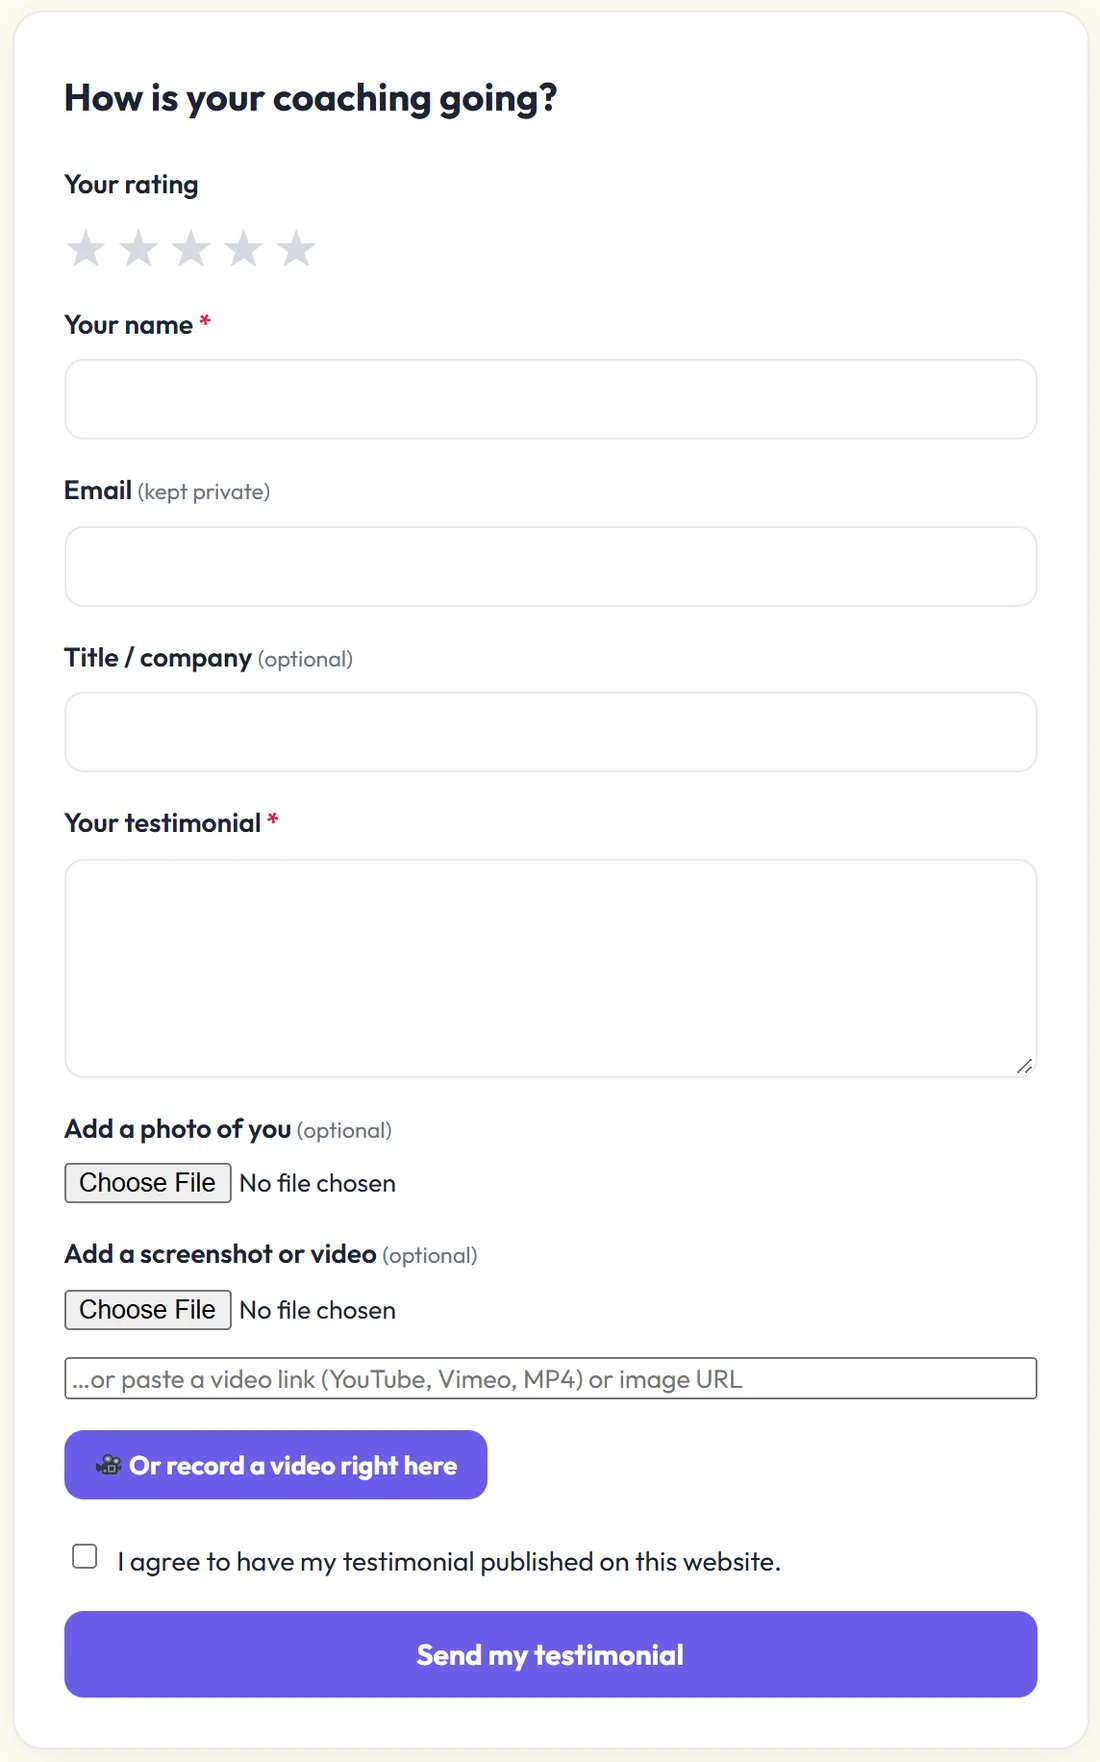
Fit at Home Academy adds one Short text question to its default form: Your main goal when you started. Then it clicks Clone on the default form, names the copy Coaching clients with the tag coaching, sets Form title to How is your coaching going? and types 1-to-1 Coaching under Product for this form. The coaching page uses [autoproof_form id="2"], so every review from it is tagged 1-to-1 Coaching and the product picker never shows.
Tips:
- Test your form with Test in the forms table, then open the live page as a visitor.
- Keep forms short. Name, rating and a few sentences are enough for most customers.
- With your licence active, the table shows UNLIMITED (PRO), so you can make a form for every product or campaign.
- Use Clone to start a new form from one you already like.