Encharge uses tags and segments rather than lists. When it is connected, every opt-in is sent to Encharge as a Subscribed event with the tag or tags you choose. Your Encharge flows can then start from that tag.
Where to find it:
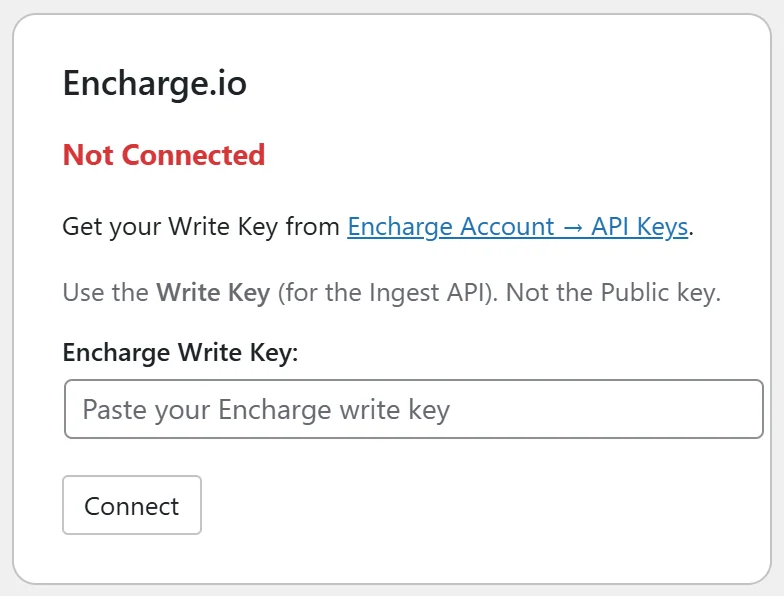
Go to Free List Building → Autoresponders and find the Encharge card.
Where to find your Write Key:
- Log in to Encharge.
- Open Account → API Keys.
- Copy the Write Key. Use the Write Key, not the Public key.
Step by step:
- Paste it into Encharge Write Key.
- Click Connect, then Test Connection.
- In Default Tag(s) (optional), type the tag new subscribers should get. Use commas for more than one, for example lead, checklist-downloaded.
- Click Apply to Funnels Without Tags or Apply to ALL Funnels.
What happens on each opt-in:
The person is sent to Encharge with their email, first name (when you collect names) and the funnel's tags. Encharge creates the person if they are new, or updates them.
Per funnel:
On a funnel's edit page choose the Encharge option in Autoresponder Provider and type that funnel's tags in the list field. Leave it blank to use the default tags.
A real example:
A software coach who uses Encharge sets the default tag lead, and gives the checklist funnel the extra tag checklist-downloaded. An Encharge flow starts on that tag and sends a three part checklist walkthrough.
Tips:
- Plan your tag names first, then build one Encharge flow per tag.
- Tags are typed, not picked from a list, so check the spelling matches Encharge exactly.
- If an opt-in does not appear, see Settings → Debug Log for Encharge's reply.