The setup wizard builds a ready-to-use community in a few minutes. It names the community, creates starter spaces in groups, sets up nine levels and decides how people join. You can run it again later without losing anything you made.
Where to find it:
It opens on its own the first time you open AiX Community after activating your licence. Later, open Community, then Setup wizard.
Step 1, Community:
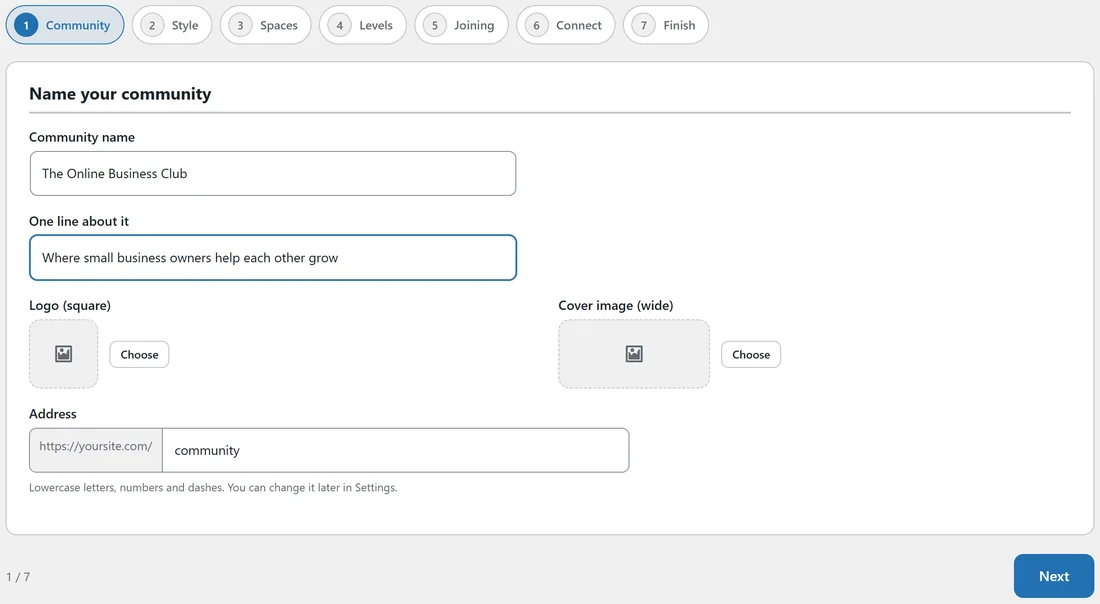
- Community name: shown at the top of the app and in emails. It starts with your site name.
- One line about it: a short tagline for the About page and the community card.
- Logo (square) and Cover image (wide): click Choose to pick from your media library.
- Address: the part after your site address. community is the usual choice, which gives yoursite.com/community/. Use lowercase letters, numbers and dashes.
Step 2, Style:
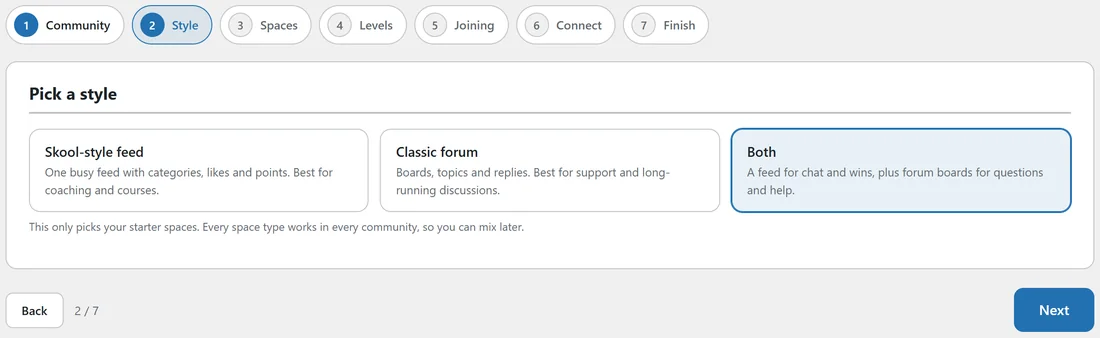
- Skool-style feed: one busy feed with categories, likes and points. Best for coaching and courses.
- Classic forum: boards, topics and replies. Best for support and long-running discussions.
- Both: a feed for chat and wins, plus forum boards for questions and help.
The style only picks your starter spaces. Every space type works in every community, so you can mix them later.
Step 3, Spaces:
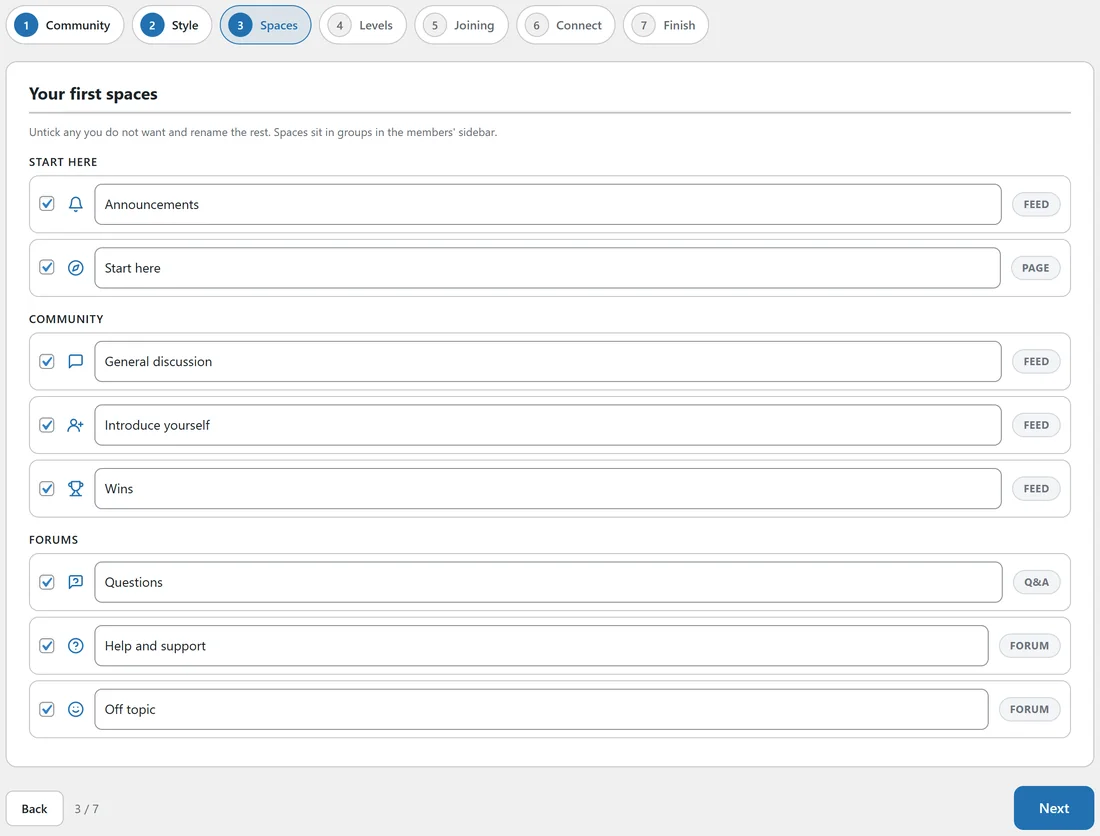
The starter spaces for your style are listed in their groups, each with its type. Untick any you do not want and rename the rest. With Both you get Announcements and a Start here page, then General discussion, Introduce yourself and Wins, then Questions, Help and support and Off topic. Announcements is set so only your team can post.
Step 4, Levels:
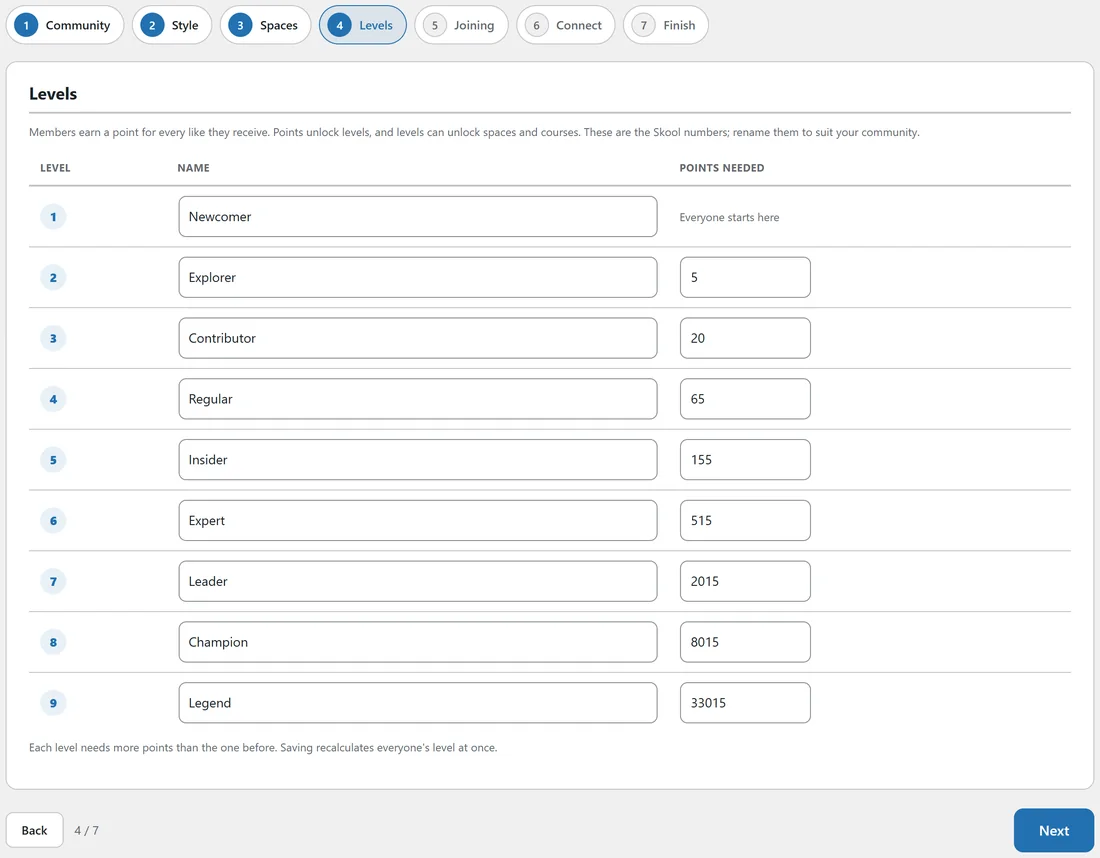
Members earn a point for every like they receive. Points unlock levels, and levels can unlock spaces and courses. The wizard fills in nine levels with the points used by Skool: 0, 5, 20, 65, 155, 515, 2015, 8015 and 33015. Rename them to suit your community.
Step 5, Joining:
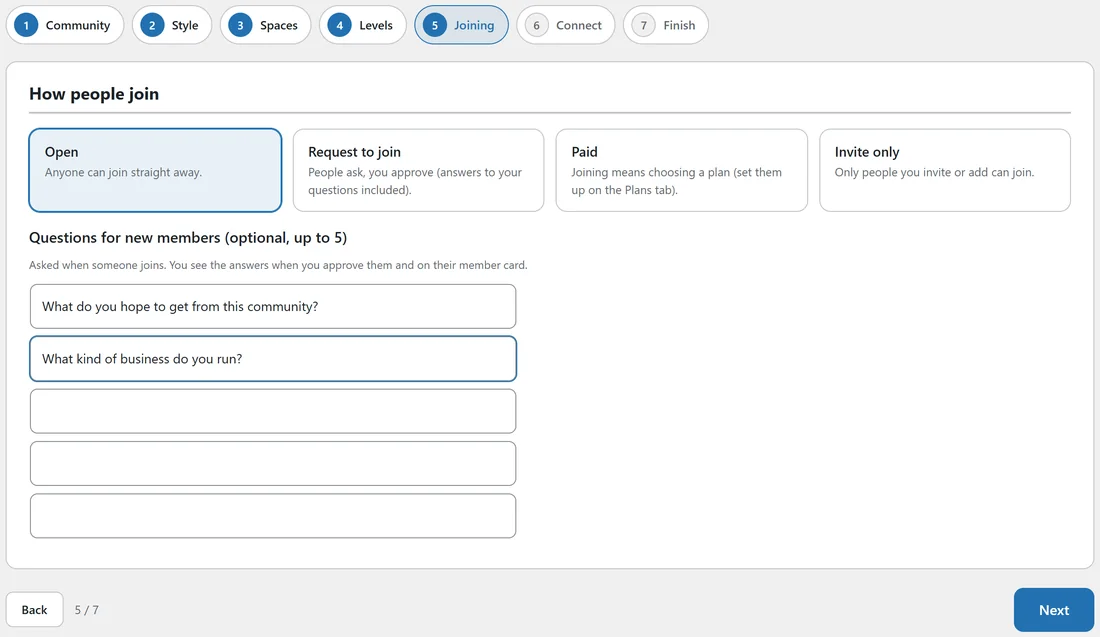
- Open: anyone can join straight away.
- Request to join: people ask and you approve, with their answers to your questions.
- Paid: joining means choosing a plan, set up under Plans and payments.
- Invite only: only people you invite or add can join.
Add up to five questions for new members. You see the answers when you approve someone and on their member card.
Step 6, Connect:
Three optional cards: Paid plans with Stripe, The AI, and ResultsAiX Mailer. When the Mailer is installed you can pick the list new members join and tick Add members and tags in the Mailer. The other two link to their tabs so you can set them up afterwards.
Step 7, Finish:
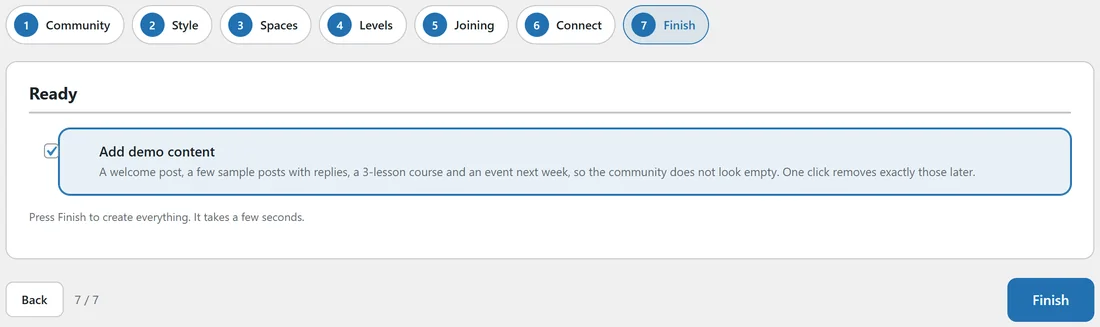
Tick Add demo content to get a welcome post, a few sample posts with replies, a 3-lesson course and an event next week. Click Finish. It takes a few seconds.
Running it again:
After setup the tab shows Your community is set up with links to the next steps. Run the setup wizard again updates the name, levels and join settings. It only adds starter spaces when the community has none, so nothing you made is lost. Remove demo content deletes exactly the demo items and nothing else.
A real example:
Alex picked Both, kept every starter space, renamed the levels from Newcomer to Legend, chose Open joining with two questions and left the demo content off, because the club already had posts to import.
Tips:
- Your next stop is Your First Community In Ten Minutes.
- Everything the wizard sets can be changed later on the Spaces, Gamification and Members tabs.