This is the quickest route from a fresh install to a community you can invite people to. Each step has its own article with every detail.
Step 1, activate and run the wizard:
- Open AiX Community and paste your licence key. See Installing The Plugin And Activating Your Licence Key.
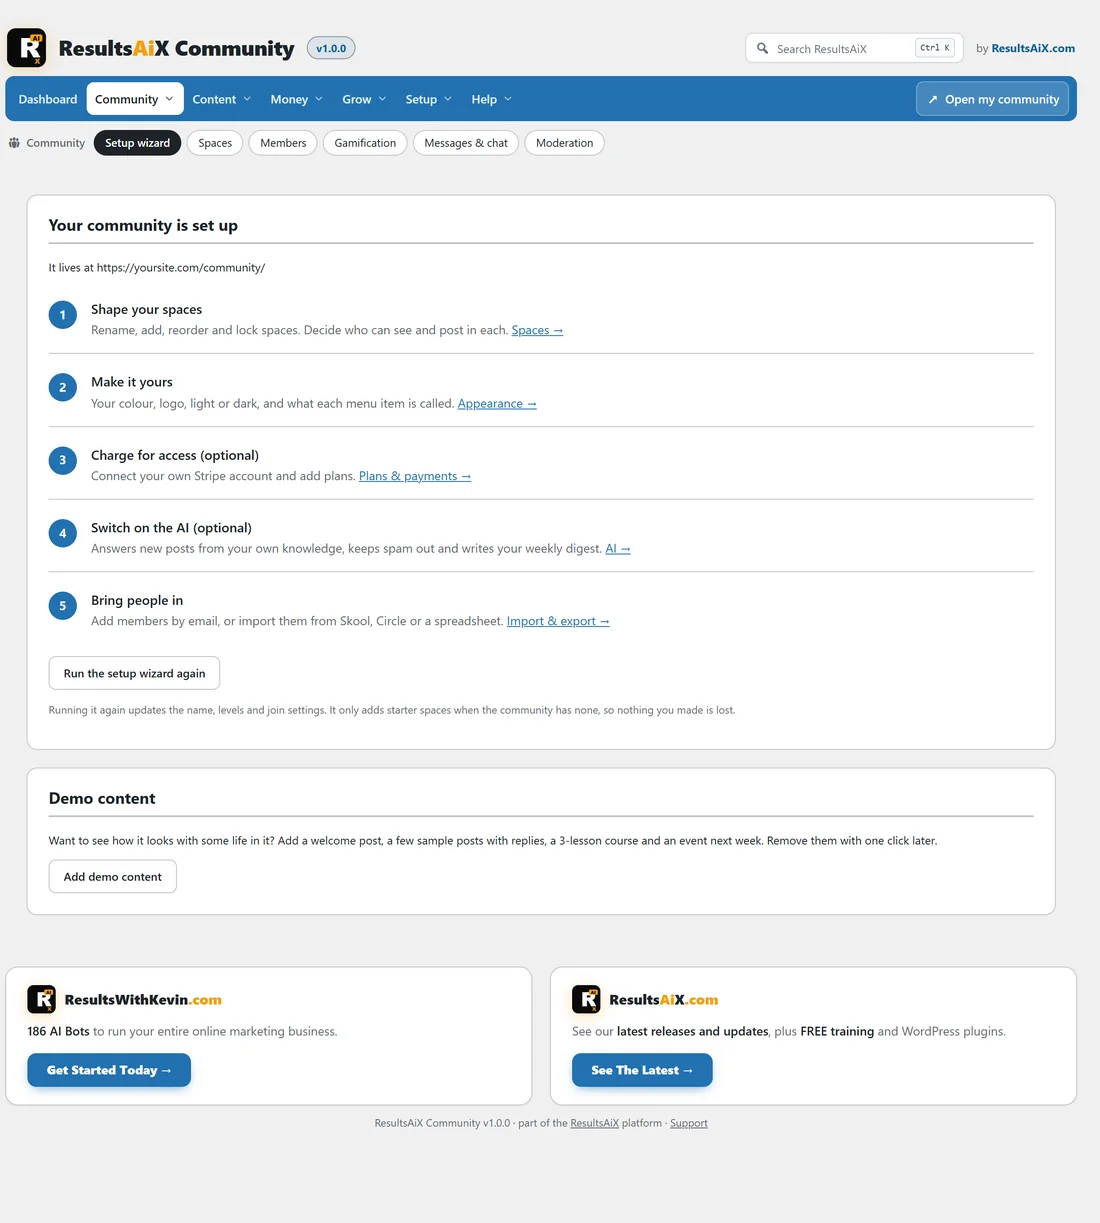
- The setup wizard opens. Name the community, pick a style, keep the starter spaces, keep the nine levels and choose Open joining. See The Setup Wizard.
- Tick Add demo content if you would like to see the community with some life in it first.
Step 2, make it look like yours:
- Open Setup, then Appearance.
- Pick your accent colour, choose Follow each member's device under Light or dark, and add your logo and cover image.
- Click Save the look. See Appearance: Colour, Logo, Light And Dark, Menu Words.
Step 3, post a welcome:
- Click Open my community.
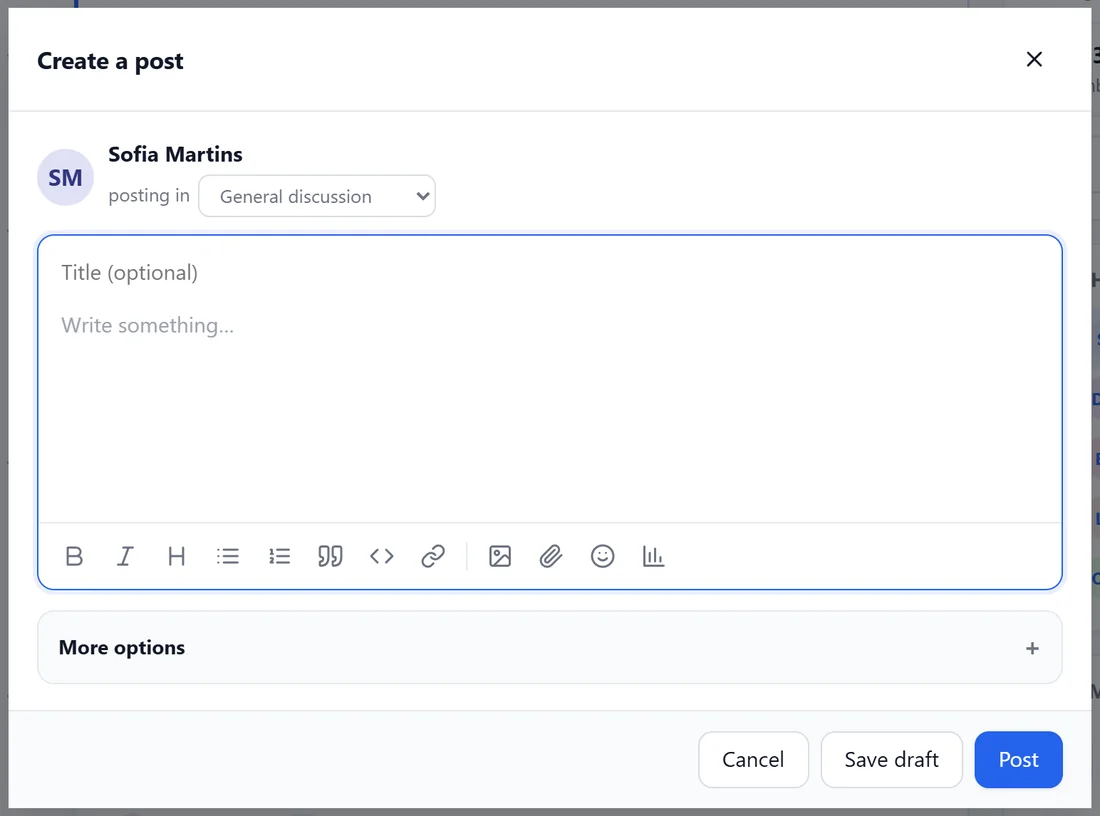
- Click Write something at the top of the feed, choose Announcements under posting in, and write a short welcome.
- Click Post, then open the three-dot menu on the post and choose Pin to the top of the home feed.
See The Home Feed And Writing A Post.
Step 4, add something to come back for:
- A course: open Classroom in the app, click Edit, then add a course with a few lessons. See Building Courses In The Classroom.
- An event: open Calendar in the app and click New event, for example a weekly Q&A call. See Creating Events: Repeats, Places, Tickets And Reminders.
Step 5, bring people in:
- Add people by email under Community, then Members, then Add members.
- Or create an invite link from Members in the app.
- Or import a members CSV from Skool or Circle under Grow, then Import and export.
See Adding Members And Invite Links.
Step 6, optional extras:
- Charge for access with your own Stripe account. See Connecting Stripe and Plans, Tiers And Coupons.
- Connect the AI to answer new posts and keep spam out. See Connecting Your AI Service.
- Check emails go out: Grow, then Emails, then Send me a test email.
Step 7, tidy up:
When real posts start coming in, open Community, then Setup wizard and click Remove demo content. Only the demo items are removed.
A real example:
Alex set up The Online Business Club in one sitting: the wizard with the Both style, a blue accent and the OBC logo, a pinned welcome post, a weekly Q&A call on Saturdays and the first course, Email Marketing That Sells. Alex then added the first twenty members from a spreadsheet and sent the link in a newsletter.
Tips:
- Ask new members to introduce themselves. The welcome message every new member gets already suggests it.
- Check the Dashboard after the first week to see who took part.
- The Training tab in the plugin has the same quick start, with links to each screen.